Showing posts with label rocks. Show all posts

Sunday, February 23, 2025

Photo-a-Day Week 8


Our weather has been nice the last few days, so I spent a good deal of time outside pruning those shrubs whose time is now. While showering I remembered I needed to post this past week's photos. All photos this week were taken with my cellphone. 

Day 48-

I have three Amaryllis bulbs on the laundry room window sill. They bloomed Christmas time in 2023 and spent last summer on the screened porch, each putting up a lot of foliage but no blooms. Once in the house for the winter, I noticed a flower stalk. I watched and watched, and then on Monday morning, I didn't see the flower bud, just a long stalk reaching up to the window. It had opened and put forth two beautiful blooms behind the curtain!

Reaching

Day 49-

Outside our dining room window, there is/was a bird feeder on a shepherd's hook. This was one of the feeders  I didn't ordinarily bring in the house overnight. I guess this was a mistake!  I imagine it was a raccoon that wanted the birdseed. The pole bent almost to the ground and all seed was gone! 

Raccoon?
Day 50-

We have rocks throughout our yard, some of it is really pretty. This one is about the size of a basketball or more. I believe it to be white quartz. 


Rock
Day 51-

Just outside our neighborhood, in the same yard that I shared last week with the bicycle and pink blooming tree, is a cute Gnome house. The tree stump has been disintegrating, so I think this little house is on borrowed time. It used to have an above-ground pool and clothesline and lots of Gnomes lounging about the yard.  


Our house is a very, very, very fine house...

Day 52-

Liebling, our German Shepherd, loves to play fetch. Both the dogs are always excited about going out front to play. Their stare is intense, waiting for the rings to be tossed.

Laser Focus

Day 53-

Edgeworthia chrysantha blooms every winter. Many of my winter-blooming plants have been blooming later this year than usual. The fragrance of these blooms is amazing! The honey bees love its nectar, on warm days you will see bees all over the shrubs. 


Edgeworthia Aglow
Day 54-

Washington Hawthorn shrubs are native to our area and true to their names, come with large thorns! This is Crataegus possibly uniflora.


HawTHORN

Thus wraps up another week of photos. Come back again next week. 


©Copyright 2025 Janet. All rights reserved. Content created by Janet for The Queen of Seaford. Words and photos by Janet, The Queen of Seaford.

Sunday, July 14, 2019

Another River Running Through My Yard


We all know that gardens are always in flux. Some plants survive, some thrive to the point of taking over and sometimes you just want to change things up. Last year we looked at our front yard and decided that buying sod every year was expensive and labor intensive to install on a regular basis. What's a gardener to do? (we all know---you make a new garden bed!) The wet winters and dogs running over wet grass made the lawn thin and excessively needy.


I had big plans, make a giant mulch bed in the front yard. I haven't measured the size of the area we were looking at making a new garden....let's just say it is a large area. Maybe I will go and measure it one of these days. 


We left a mower sized width of grass along the driveway and between the gardens. In the center of this new, massive garden is a Little Gem Magnolia with daylilies around it. Once the plan was hatched, mulch was needed. Lots of mulch. We had ten yards of mulch delivered.


Because we had some grass and a lot of weeds the plan was put cardboard or newspaper under the mulch as a weed block. Before you jump all over me, I have since read information from the Garden Professors about not using anything under mulch. Their recommendation is to just have a good layer of mulch (inches deep) and it will smother/block the weeds. Good information, just after the fact. 


Moving forward we used tons of cardboard, mountains of newspaper and still ran out. We had help with the mulch from our kids who came to visit last July. With their help the mountain of mulch was spread. Hallelujah!

Liebling was a great help
 Fast forward to this year. I planted three Japanese maples last fall-one Red Dragon, a Butterfly, and Green Viridis. Also added three Hydrangea quercifolia 'Little Honey' and a Cryptomeria globosa 'Nana'. Found a few abelia in the garden that needed moved- think they might be Abelia grandiflora 'Rose Creek'- so what better place to move them than this huge new space?


I brought a birdbath home from my Mom's house. In front of the birdbath I planted some Agastache 'Blue Boa', Coreopsis 'Mercury Rising', Stokesia laevis (Stokes Aster) and other plants for pollinators. The maples were doing well, the flowers were thriving but there was a problem with the garden...........WASHOUT. Some Liriope and an Amaryllis were added to try and slow the water flow. They didn't. 


With every rain we had a trail of mulch running downhill through the grass. Not happy. I had scooped/raked up mulch multiple times. Something needed to be done. You see some rocks in the photo above. I didn't grab a before photo but the mulch was still in the grass so it is a good example. The rocks that I have had leftover from other projects are all in the lower part of the yard. Our property is on a good slope. Moving enough rocks was going to be a lot of work just hauling them up the last part of the hill.
My great plan was that my lovely assistant (daughter Rachel) and I would load up the rocks into the cart that attaches to the lawn tractor. My husband just needed to drive the tractor to the bottom of the yard, wait for us to fill the cart, then drive the tractor back up to the front yard. 

Me mud splattered
Rachel muddy from rock hauling
 Well, the yard was wet, the lower the yard, the wetter the yard. We pushed and pushed the tractor to get it moving and got sprayed with lots and lots of mud. Yay. Plan B was to take the tractor through the woods in our wooded lot where we had a path cut. Well, that only worked part way. We got my garden wagon and the wheelbarrow and moved three or four loads each out of the cart until the lawn tractor could make it up the rest of the way. Spreading the rocks went pretty well. Making the new dry creek bed curve gently through the garden, following the washout area, was not as hard as bringing the rocks uphill!


View from the top of the hill
We are due to get more rain sometime in the next few days. Cross your fingers!  I want the "river" to be slowed and the water diverted as to not move the mulch. 


View from the bottom of the hill
 Speaking of mulch, that's the next project...more mulch. We are battling nut sedge and Bermuda grass popping up in the garden, especially where the mulch had gotten washed out or thinned. Weed control is an ongoing challenge.


©Copyright 2019 Janet. All rights reserved. Content created by Janet for The Queen of Seaford. words and photos by Janet,The Queen of Seaford.

Friday, August 19, 2016

Dry Creek Bed Follow-Up (with rain!)

Many of you saw the dry creek bed that we added to our backyard garden area. The link to the previous post is here. Since then we have had little rain to speak of while I was home.  However, when I was in Minneapolis for the Garden Bloggers Fling a good amount of rain fell but I wasn't there to see how the garden fared.

When we had a small amount of rain I was able to make a few adjustments in the grass and pathways. This photo doesn't look like much but it is a slice cut into the low part of the grass area between the patio and the garden. I wanted to channel the run-off from the house to go around the garden. My husband wasn't happy with this, saying weeds will grow in the bare soil. Perhaps, but  I needed to try something.


Here is an overview from the porch to give you some perspective. See the channel in the grass?


Another spot that needed some adjustment was the pathway, the lower (right hand) pathway emptied to the grass on the far side of the creek bed. When there was rainfall the water ran down the path and the excess water pooled in the grassy area. I dug a small ditch and a berm on the far side of the ditch, forcing the water into the creek bed.


Well, yesterday we had enough rain to access my additional measures as well as getting to see, firsthand, how well the dry creek bed worked. I measured 1.58 inches over a 24 hour period. The video below shows it all.  I am narrating so you can listen or just watch. 


We have had some sand washout from the upper part of the creek bed where they put the french drain pipes which will need be removed.  I took the advice of fellow blogger Swimray about keeping the leaves out (and will continue to do so). So very glad we did this addition to the garden. It certainly channeled a lot of water without it creating its own new path.

©Copyright 2016 Janet. All rights reserved. Content created by Janet for The Queen of Seaford. words and photos by Janet,The Queen of Seaford.

Saturday, July 2, 2016

A River Ran Through It


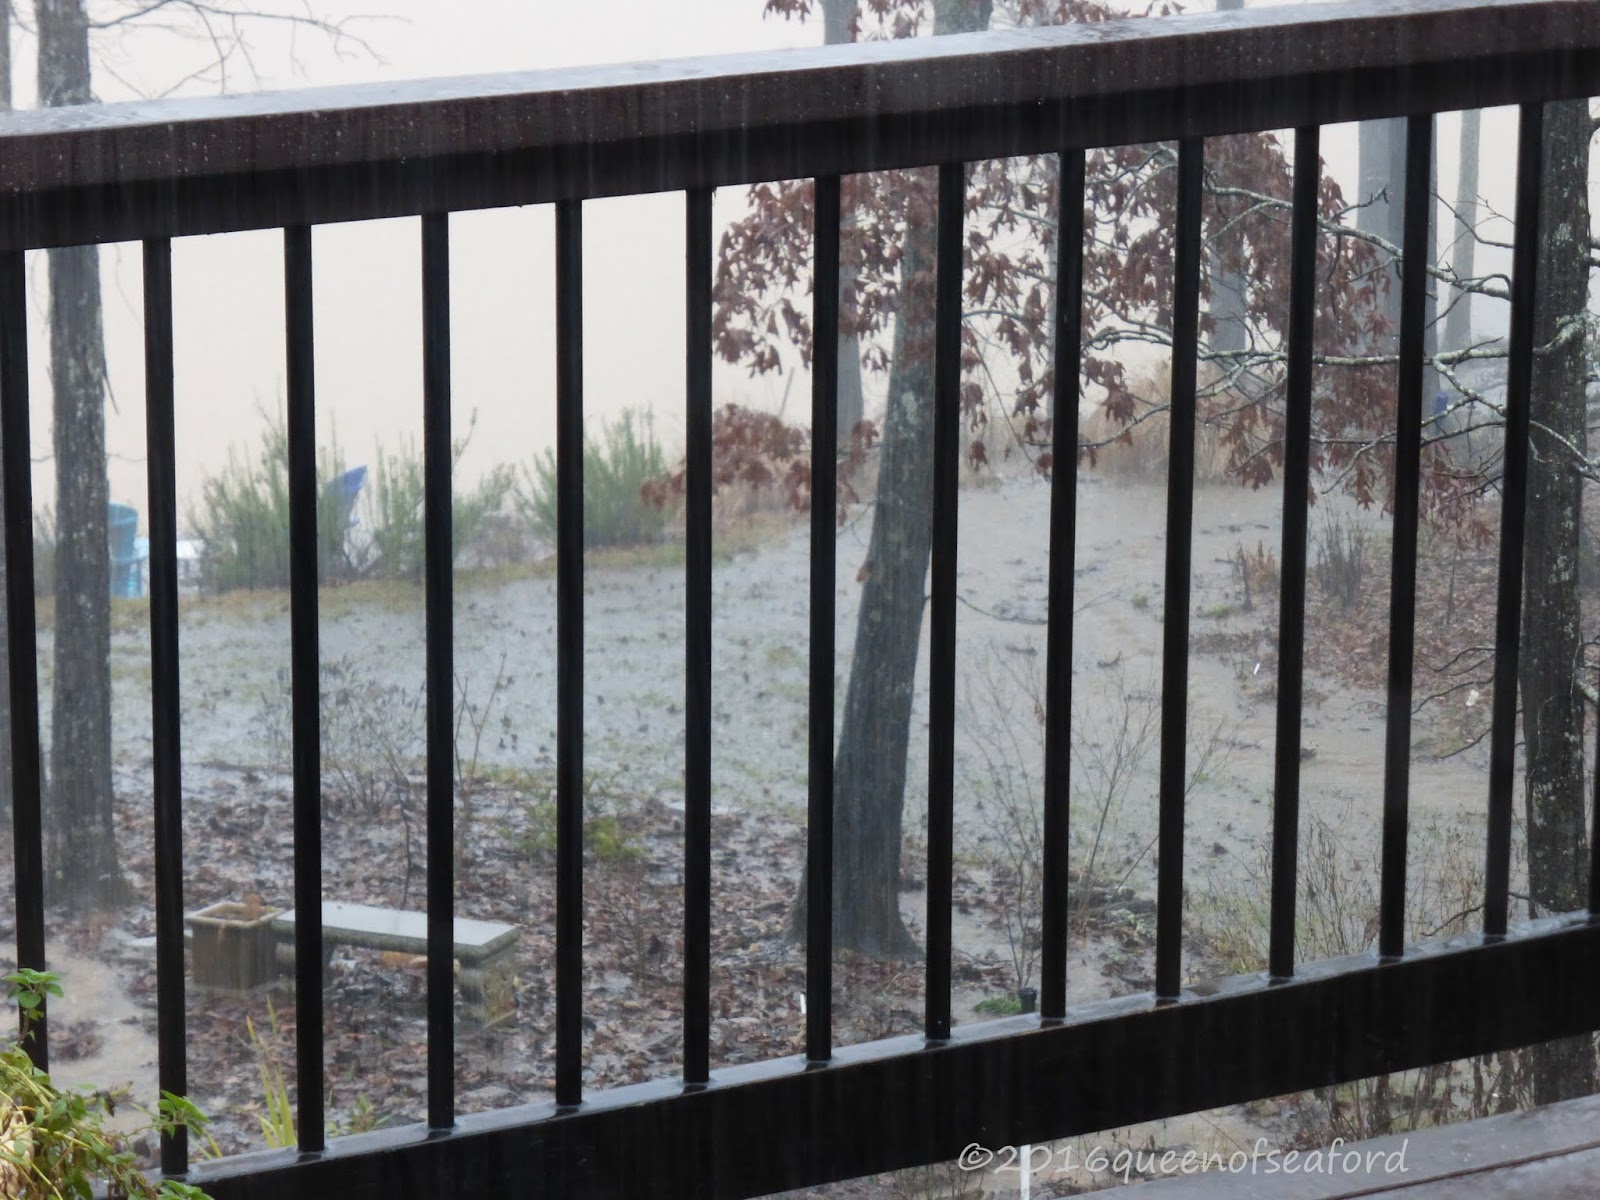
I may have mentioned this in previous posts, we live on a slope. The front of the house faces the higher ground and the back empties out to the lake. The front street level elevation is about 485 feet above sea level, the lake is 439 feet above sea level....and the lot is just under 400 feet street to lake. Water finds its way through the grass and gardens, sometimes making new pathways. This past winter we had a few heavy rains that caused some washout in the gardens.  You can see through the screen from the porch that there was a river rushing through the back garden. 

Here is another view- a bit lower in the yard. It looks like a lake above the lake. 


Washout through the garden was becoming a large problem. Plants didn't have a chance in this gully washer.  Over the years we had placed some larger boulders to divert the water but something more needed to be done.


A few of the garden bloggers visited last summer and we chatted about solutions. One idea was a dry creek bed...something I had pondered over the years but wasn't sure size or path. Well, after this past winter's rains, we decided to do it. 
We had moved enough rock in the garden to know we didn't want to do it ourselves....we are no spring chickens and like I said earlier, we live on a slope. We contacted the folks, Wyatt Farms, who did our landscaping/irrigation/garden prep when we built. We talked with Wyatt and he came up with a sketch and a plan and a date was set.
My first job was to remove any plants that were in the pathway of the new dry creek bed. A few small clumps of Calla lily and Gladiolus didn't seem like much until I needed to find new homes for them. Right now they look a little sad after being transplanted. We are now in drought conditions and it is July in South Carolina....warm hot weather prevails. 
Below is a before photo. The blue square box is the irrigation manifold box. It couldn't be moved. In the grass you see thin grass and some flat rocks/ stepping stones as it gets soggy right there.  My Japanese maple needed to be protected. It was a narrow spot for the dry creek bed to begin.

Many seedlings of Blackberry lilies were sacrificed for the cause.  


Another wide view of before-


Big equipment (well, bigger than me and a shovel) was brought in and digging commenced.


The pathway was divided into pathway and dry creek bed. The creek bed is a little wider than it would have been if I had been doing the digging. The hole/trench is about three to four feet wide and roughly two to three feet deep. 


At the top of the garden two trenches were dug to hold a french drain pipe. The pipe would then feed into the dry creek bed. 


We have a french drain around the front of the house that empties to this spot in the grass. With our clay soil, the water didn't drain so grass was weak and the soil soggy. 


The river rocks were delivered, looked like a giant pile of baked potatoes.


Before the rocks were placed, the black landscape fabric was pinned into place. 


Oh to have a Bobcat as a tool in my garden....dreaming dreaming.....from the front scoop they wheelbarrowed the rocks to the right place. 


The guys placing and cutting the french drain pipe in place. It is a black plastic pipe with holes all around the circumference of the pipe then encased with a mesh fabric.


ROCKS IN PLACE! My larger boulders already in the garden were used as accent rocks in the creek bed. Luckily I had a lot for them to use. 


Sod was the final step in the process. We had laid two pallets of grass last month and it took three of us a good couple hours to get it done. These guys were done in no time. 


Finished product from the deck- 


And from the lower part of the garden. I love it. Now if we would get some rain, it can get tested.  I spent yesterday moving a few plants along the edge. I also had to move some of the existing rocks that lined my pathway for the mower to get to the lower part of yard. Since we decided to have the rocks go across the grass, the path to the rest of the yard was cut off.  I only needed to move about twenty feet of flat rocks over about two feet so the mower could go down the path. I will put more plants around the edges as time goes on to give it a more natural look. 


Our next task is a load of mulch. Luckily we have two kids coming to visit! 

©Copyright 2016 Janet. All rights reserved. Content created by Janet for The Queen of Seaford. words and photos by Janet,The Queen of Seaford.