 |
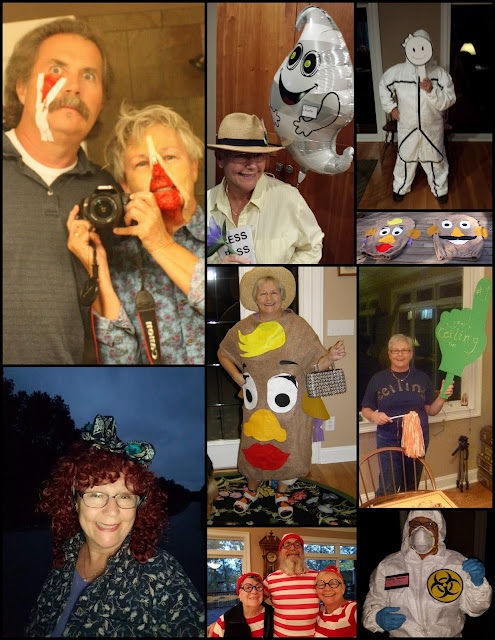
| Nine years of costumes |
And now as promised- the Martians from Sesame Street, otherwise called the Yip-Yip Monsters.
I really loved these costumes. Fun to make and not difficult. Let me say this right up front- I don't really follow patterns. Detailed directions are not my forte. I wing it quite often. I have a vision of what I want the outcome to look like and go from there.
Luckily our local Jo-Anne fabric store was still open when I chose to make this costume. With husband in tow we went with a list :
body
eyes and pupils
antenna
mouths and lips
Needless to say the ladies at the fabric store were a little amused at our shopping technique.
Body= fabric - pick whatever color flow-y fabric you like (make sure it is not see through) How much? This is where you need the person who is wearing the costume. You want it long enough to go from the knees (at least), over the head and back down to the length in the front...roughly 3-4 yards give or take.
Eyes= Styrofoam balls big enough to have a good presence on your head. About softball size or a little smaller. Pupils were decided to be some of the leftover fabric from the mouth.
Antenna= Pipe cleaners. Where would we be without pipe cleaners?
Mouth and lips= The mouth needs to be thin enough to see through. The lips, or rather the working part of the formed mouth...what to use, what to use? I finally came up with a car washing sponge.
 |
| Supplies and Safety Pins |

First dilemma was the correct placement of the eyeballs and how to keep the top of the head on the top of your head. Solution was to safety pin a baseball cap, worn backwards, to the costume material. Once the material was set on your body, longer length in the front by about a foot or so, secure the baseball cap with safety pins. Eye placement is tricky if you are trying this on your own as you can't see through the fabric. I placed my husband's eyeballs and he did mine. We chose to place the eyeballs almost on the crown of our heads. Mark the fabric accordingly. Also mark where the mouth will be. I used tape.
 |
| Inside view of baseball cap |
Cut the mouth opening after removing the costume. Always go smaller than you think is needed as you can cut more. Remember you will need to see through the mouth fabric, so cut the mouth high enough on your face so your eyes are in the mouth opening.
Here comes in the car wash sponge. It was large enough to be able to control the mouth and lightweight enough to not weigh down the front of the costume when not holding it. Cut in half- half for each costume. The rounded edge goes against the inside of the bottom lip.
I used fabric glue to secure the sponges in place.
Next was gluing the Styrofoam balls and the twisted pipe cleaners for antenna. I needed to use multiple pipe cleaners twisted together to give them the heft to stay upright. It was good to glue the pipe cleaners close to the eyeballs, helping to hold them straight. Also multiple safety pins come in handy.
Adjust accordingly. I added the pupils to the eyeballs last. I wanted them to be facing in the right direction. To assess placement I used two camera tripods to hold up the costumes and instantly had a dining room full of personality. As with other Muppet puppets, once the eyes are complete they have so much life, so much personality.
To wear the costumes, pin the sides closed in one or two places. With hands inside the costume you can move the sponge up and down to open and close the mouth.
This costume was lots of fun to make and wear. No one knew it was us! Give this one a try; be bold, be brave and just wing it!
©Copyright 2019 Janet. All rights reserved. Content created by Janet for The Queen of Seaford. words and photos by Janet,The Queen of Seaford.


